Creating shelves is one of the easiest and most satisfying DIY projects to upgrade your space. However, selecting the right shelf brackets is crucial to ensuring your shelves are both sturdy and stylish. You might be wondering, what bracket style do I need?
This guide will walk you through the steps to choose the perfect shelving supports for your specific needs, covering bracket sizes, styles, and quantities.

1. Determine Shelf Size
The size of your brackets depends on the dimensions of your shelf board. Start by selecting the type and size of shelf you’ll be using before ordering brackets.
Common Shelf Sizes:
| Shelf Location | Shelf Size |
|
Kitchen Shelves |
11.25”- 12” |
|
Bathroom Shelves |
5.5” – 8” |
|
Living Room or Display Shelves |
5.5” -9.25” |
|
Pantry Shelves |
15″-18″ |
|
Laundry Room Shelves |
11.25" -15" |
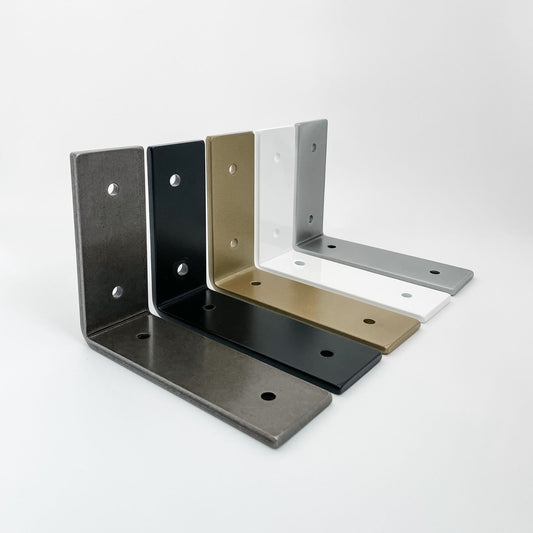
2. Choose Bracket Style
After determining shelf size and material, you can now select the best brackets for the job. Some styles work better than others for specific shelves:

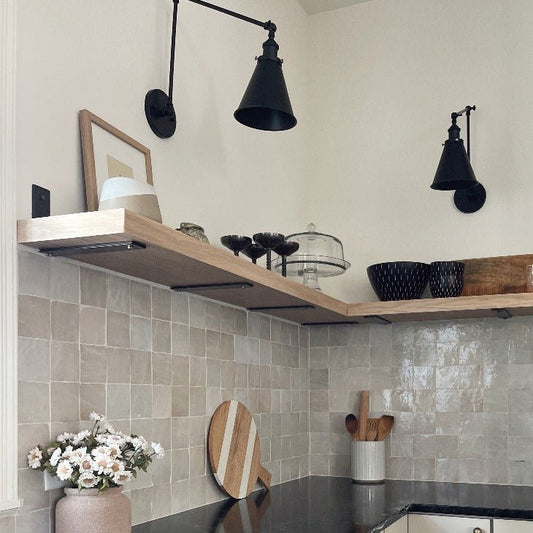
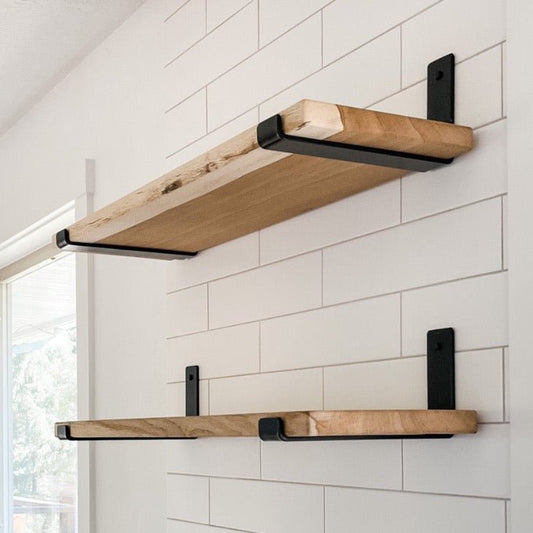
L Brackets
- Best for: Uncommonly sized shelves, live edge lumber, or to achieve minimal floating look.
- Design: A simple angle bracket with no front lip, making it ideal for raw, uneven edges.
- Suggested: Excellent option for supporting an existing shelf.
- Tip: Ensure the support arm covers at least 2/3 of the shelf depth.

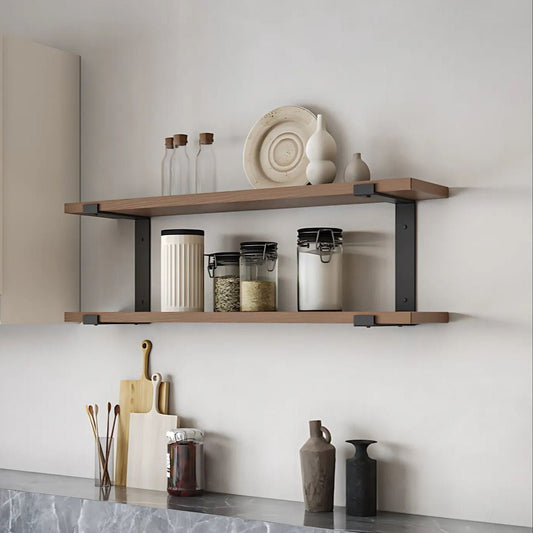
Z Brackets
- Best for: Classic designs and beginner projects.
- Design: Features a leg support under the shelf with a front lip to hold the board securely against the wall.
- Tip: Perfect for adding support to pre-existing floating shelves without removing them.

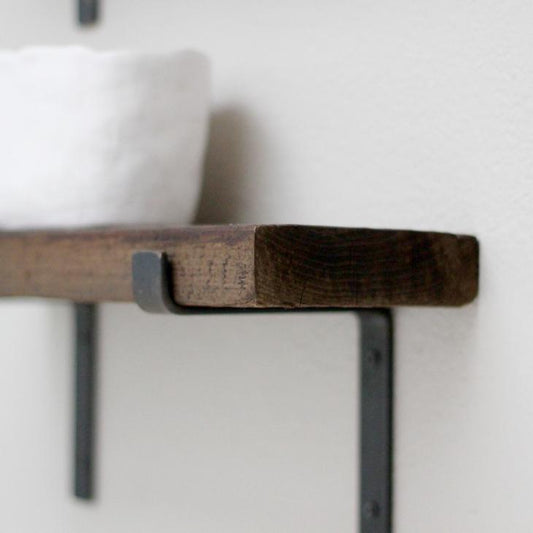
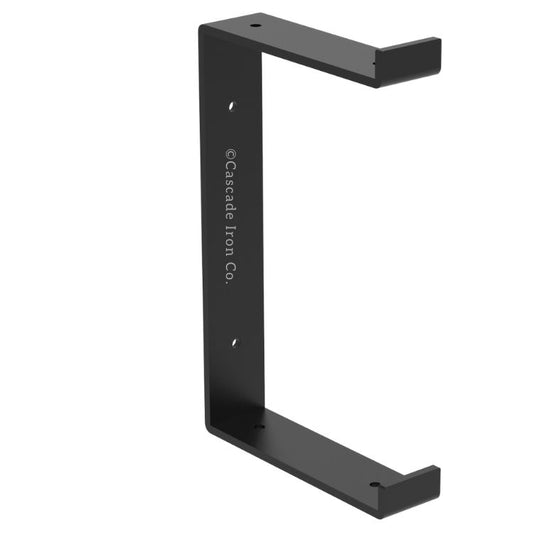
J Brackets
- Best for: Minimalist and floating shelf designs.
- Design: The leg support sits behind the shelf, creating a “floating” effect, while the front lip holds the shelf snug.
- Note: The shelf won’t sit entirely flush against the wall so it does not work as well for supporting an existing shelf

Heavy-Duty Brackets
- Best for: Thick shelves or heavy items.
- Design: Available in different styles, made with 2” wide steel to hold up to 100 lbs per bracket.
-
Tip: Heavy-duty brackets also create a bold, industrial look.
Specialty Brackets for Glass or Marble Shelves
- Challenges: Glass and marble often don’t fit securely into standard brackets.
- Solution: Use L brackets with silicone pads to prevent shifting and protect the edges of delicate materials.
3. Choose Number of Brackets
The length of your shelf determines how many brackets you’ll need to ensure proper support. While heavy-duty brackets are strong, spreading support evenly is key to preventing sagging.
All shelves are different, but for shelves over 36” long, we suggest using more than 2 brackets.
Here are our recommendations for quantity of brackets needed based on shelf length:
| Shelf Length | Quantity of Brackets |
| 0" -36" | 2 |
| 37”-68” | 3 |
| 69”-100” | 4 |
| 101”-132” | 5 |
| 133”-164” | 6 |
Final Thoughts
Selecting the right shelf brackets can make or break your DIY shelving project. From L brackets for live edge shelves to heavy-duty options for larger loads, the right choice ensures your shelves are both functional and stylish.
By taking the time to choose the correct bracket size, style, and quantity, you’ll create shelves that enhance your space while showcasing your personal style.